Difference between revisions of "Box.Net"
Jump to navigation
Jump to search
(→Installing Box Sync) |
(→Installing Box Sync) |
||
| Line 26: | Line 26: | ||
<div class="mw-collapsible-content"> | <div class="mw-collapsible-content"> | ||
*Go to this link to download the .dmg file for Box Sync: https://support.box.com/hc/en-us/articles/360043697194-Installing-Box-Sync | *Go to this link to download the .dmg file for Box Sync: https://support.box.com/hc/en-us/articles/360043697194-Installing-Box-Sync | ||
| − | *Go to where you downloaded it and double-click the .dmg file | + | *Go to where you downloaded it and double-click the .dmg file. |
| − | * | + | *Click on the Box Sync icon and drag it in to the applications folder to add it to your applications. |
| − | *;[[File: | + | *;[[File:macbox.png|400px]] |
| − | * | + | *Open your applications folder and click on "Box Sync" to open it. |
| − | |||
*Log in using your @illinois.edu email address and your AD password. | *Log in using your @illinois.edu email address and your AD password. | ||
| − | *;[[File: | + | *;[[File:macbox2.png|400px]] |
*Another window will pop up with the university log on. Log in using your netID and AD password. You will also likely have to go through the 2FA process. | *Another window will pop up with the university log on. Log in using your netID and AD password. You will also likely have to go through the 2FA process. | ||
| − | *;[[File: | + | *;[[File:macbox3.png|400px]] |
*Click "Start Syncing" | *Click "Start Syncing" | ||
| − | *;[[File: | + | *;[[File:macbox4.png|400px]] |
*You will now have a Box Sync folder, as seen below. Anything you place in this folder will be synced to Box | *You will now have a Box Sync folder, as seen below. Anything you place in this folder will be synced to Box | ||
| − | *;[[File: | + | *;[[File:macbox5.png|400px]] |
*If you have content already in Box that you would like to appear in the folder for viewing/editing, follow the directions below for "Marking Content for Box Sync" | *If you have content already in Box that you would like to appear in the folder for viewing/editing, follow the directions below for "Marking Content for Box Sync" | ||
</div></div> | </div></div> | ||
Revision as of 16:34, 17 March 2020
Contents
University of Illinois Box[edit]
- Cites Guide: https://answers.uillinois.edu/page.php?id=76333
Features[edit]
- Box allows you to share and collaborate on documents and other files online. With a University of Illinois Box account, you can invite both University of Illinois and non-University of Illinois people to collaborate with you. Box can also be used to synchronize your files across multiple devices.
- Box files are available on Android, iPhone, iPad, Windows and Mac you will have to install Sync client applications on these devices to view the files. You may access them through the web interface.
Connect to Box web interface[edit]
- Go to https://box.illinois.edu/
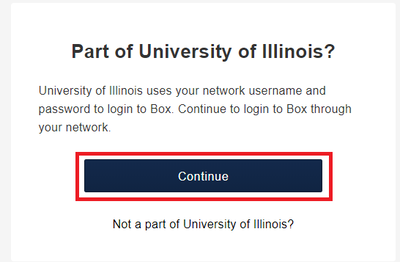
- Click on Continue
- Check the box for University of Illinois at Urbana-Champaign and click on Select this campus
- Enter your university login credentials and hit Login
Using Box Sync[edit]
- This will create a folder on your computer which automatically synchronizes files to your Box account.
Installing Box Sync[edit]
macOS[edit]
- Go to this link to download the .dmg file for Box Sync: https://support.box.com/hc/en-us/articles/360043697194-Installing-Box-Sync
- Go to where you downloaded it and double-click the .dmg file.
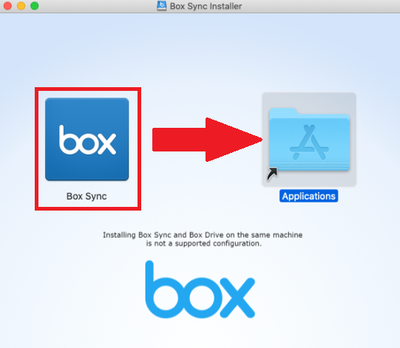
- Click on the Box Sync icon and drag it in to the applications folder to add it to your applications.
- Open your applications folder and click on "Box Sync" to open it.
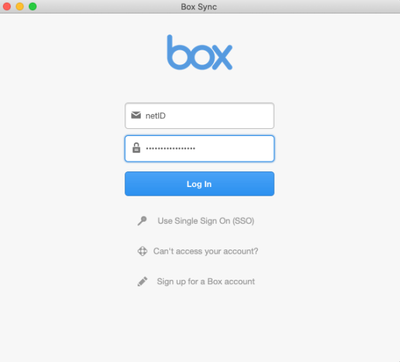
- Log in using your @illinois.edu email address and your AD password.
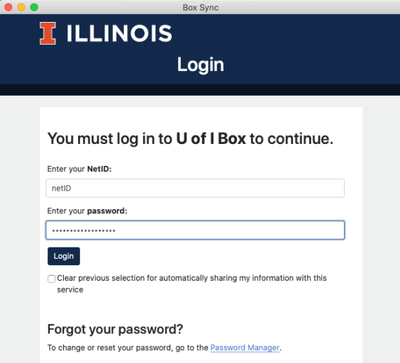
- Another window will pop up with the university log on. Log in using your netID and AD password. You will also likely have to go through the 2FA process.
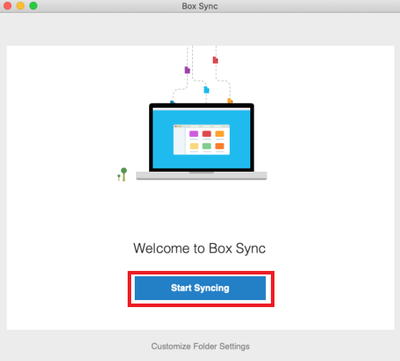
- Click "Start Syncing"
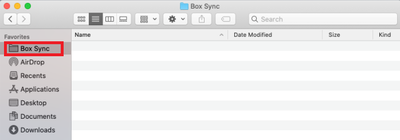
- You will now have a Box Sync folder, as seen below. Anything you place in this folder will be synced to Box
- If you have content already in Box that you would like to appear in the folder for viewing/editing, follow the directions below for "Marking Content for Box Sync"
Windows 10[edit]
- Go to this link to download the .exe file for Box Sync: https://support.box.com/hc/en-us/articles/360043697194-Installing-Box-Sync
- Go to where you downloaded it and double-click the .exe file to start installation.
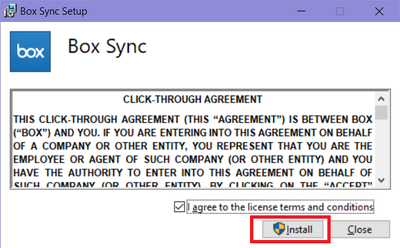
- Check the Box to agree to the terms & conditions
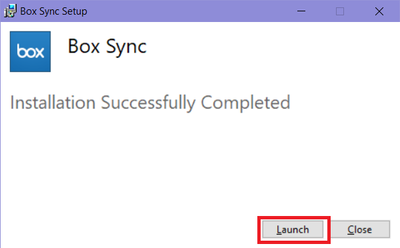
- Once the installation is complete, click "Launch"
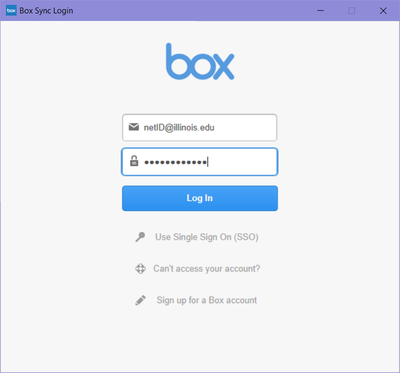
- Log in using your @illinois.edu email address and your AD password.
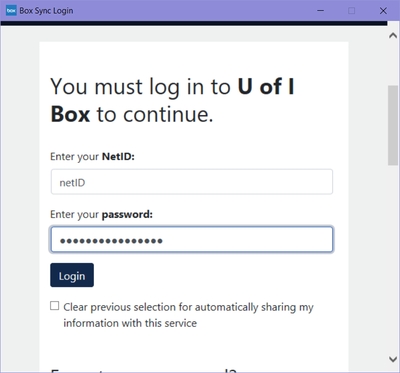
- Another window will pop up with the university log on. Log in using your netID and AD password. You will also likely have to go through the 2FA process.
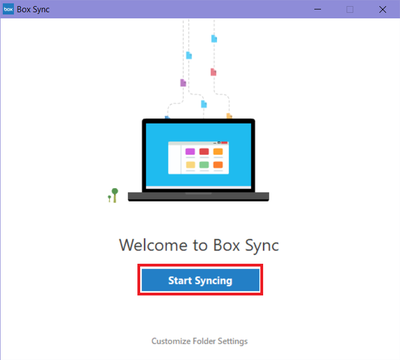
- Click "Start Syncing"
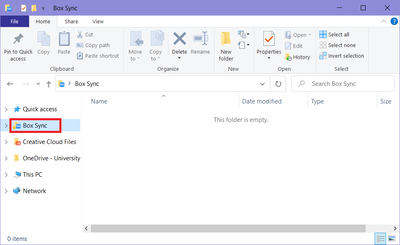
- You will now have a Box Sync folder, as seen below. Anything you place in this folder will be synced to Box
- If you have content already in Box that you would like to appear in the folder for viewing/editing, follow the directions below for "Marking Content for Box Sync"
