Printer Setup
Jump to navigation
Jump to search
Network Printer Setup[edit]
Here are the steps to setup a network printer in Windows XP.
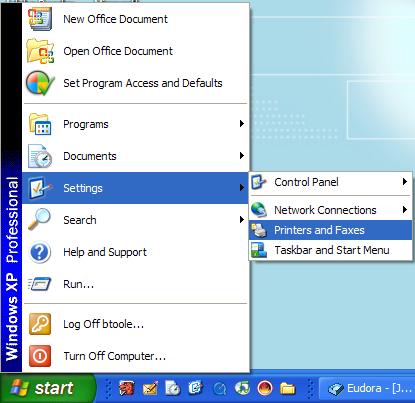
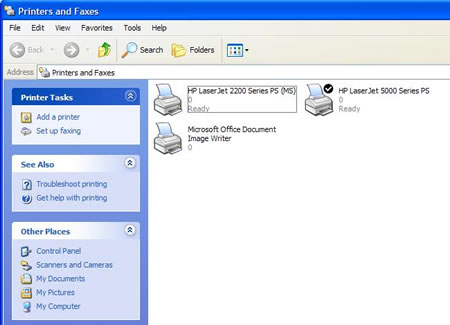
- Open the Printers and Faxes Window by choosing: Start -> Settings -> Printers and Faxes
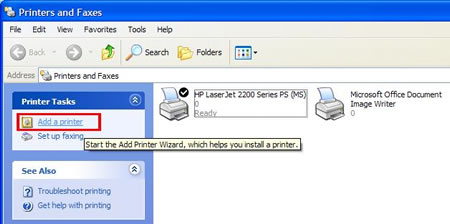
- Then under the Printer Tasks choose: Add a Printer
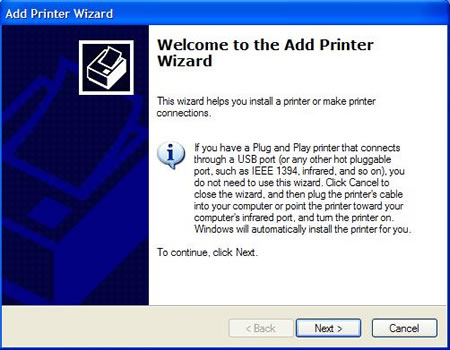
- The Add Printer Wizard will begin
- Click Next.
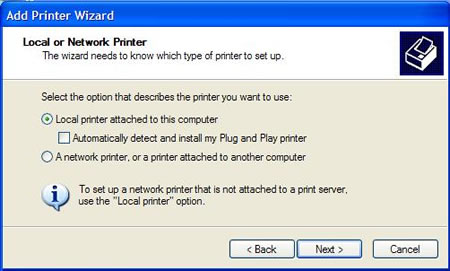
- Select Local printer attached to this computer. Make sure that Automatically detect and install my Plug and Play printer is not checked.
- Click Next.
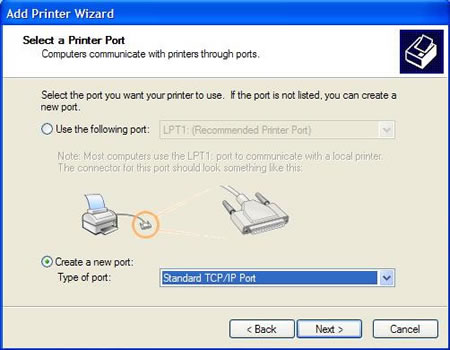
- Choose Create new port. For the type of port, choose Standard TCP/IP Port
- Click Next.
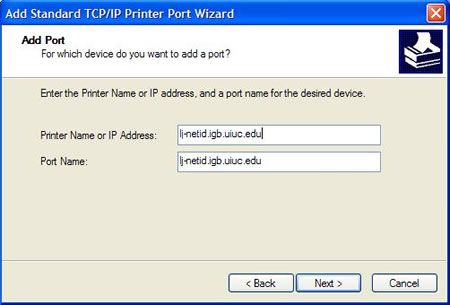
- The Add Standard TCP/IP Printer Port Wizard will open.
- Click Next.
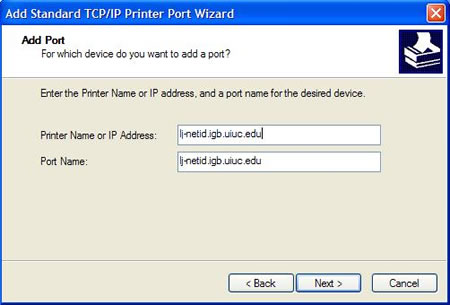
- It will ask you for your printer name. Check your printer for the printer name. It will usually be in the form: lj-netid Append .igb.uiuc.edu on the end. Example:lj-netid.igb.uiuc.edu
- Click Next.
- Click Finish
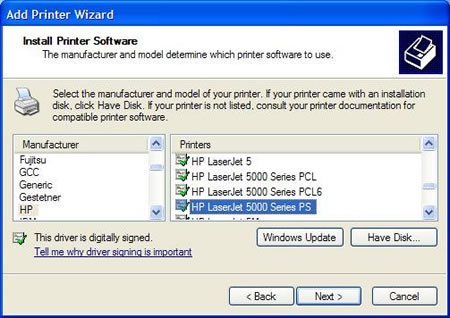
- You will be asked to select the driver for your printer. Find you manufacturer and model from the list. Example: HP and LaserJet 5000 Series PS
- Click Next.
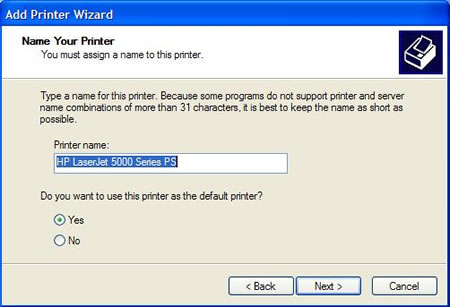
- Select a Printer Name
- Select if you wish the added printer to be the default Printer
- Click Next
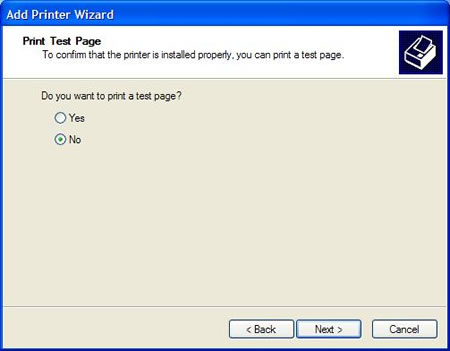
- Select if you want to print a test page
- Click Next.
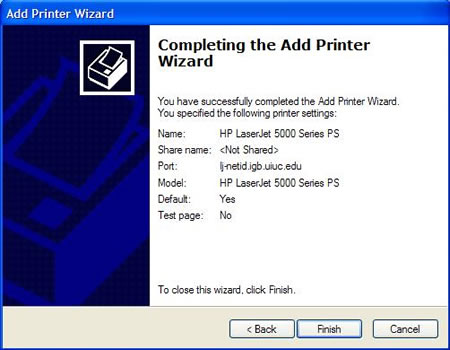
- Click Finish
- Windows will install the drivers and add the printer to your list of printers.
