Xserver Setup: Difference between revisions
Jump to navigation
Jump to search
| Line 12: | Line 12: | ||
=== Connecting === | === Connecting === | ||
*Open a terminal client and type in | *Open a terminal client and type in | ||
<pre>ssh -X [yournetid]@[destination.server | <pre>ssh -X [yournetid]@[destination.server.edu] | ||
</pre> | </pre> | ||
**The '''-X''' after "ssh" tells the computer to connect using xserver | **The '''-X''' after "ssh" tells the computer to connect using xserver | ||
Revision as of 09:44, 24 November 2021
MAC OSX
OSX 10.5 through OS X 10.7
- XServer is already built into OSX
OSX 10.8 and newer
- Download XQuartz http://xquartz.macosforge.org/landing/
- Install XQuartz and be sure to restart the computer after the installation is done.
Connecting
- Open a terminal client and type in
ssh -X [yournetid]@[destination.server.edu]
- The -X after "ssh" tells the computer to connect using xserver
- yournetid - is your university netid
- destination.server.edu - the server you would like to connect too (example: biocluster.igb.illinois.edu)
Windows with MobaXterm
- MobaXTerm includes an xserver. This is the easiest method on a windows computer
- Download and install MobaXterm at https://mobaxterm.mobatek.net/
- Open MobaXterm and select Start local terminal
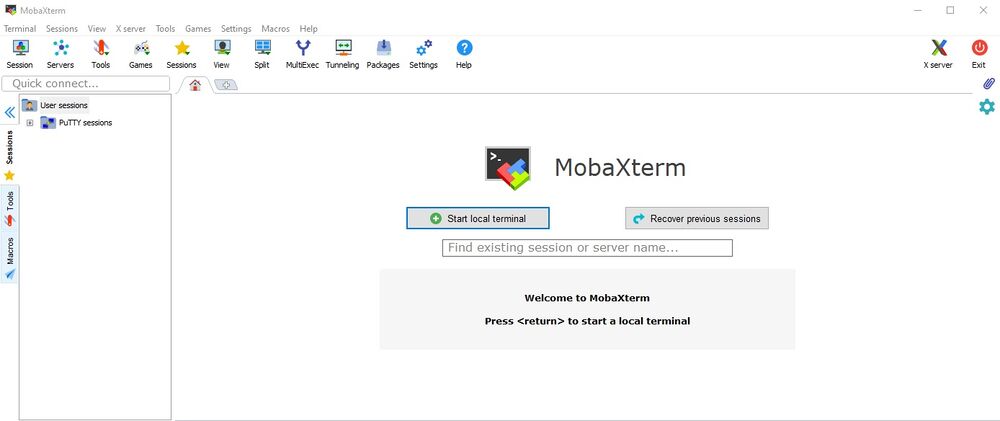
- Then type in the ssh connection string into the prompt

ssh -X [yournetid]@[destination.server]

Testing
- A good test is to run the program "xterm". Most hosts will have this installed. It will open up a graphical terminal box.
[username@hostname ~]$ xterm