Xserver Setup: Difference between revisions
Jump to navigation
Jump to search
No edit summary |
No edit summary |
||
| Line 37: | Line 37: | ||
[[Image:Xming install7.jpg]] | [[Image:Xming install7.jpg]] | ||
=== Installing PuTTy === | |||
*Run "putty-0.60-installer.exe" installer. Follow the screenshots belows | |||
*Click Next | |||
[[Image:Putty_install1.jpg]] | |||
*Click Next | |||
[[Image:Putty_install2.jpg]] | |||
*Click Next | |||
[[Image:Putty_install3.jpg]] | |||
*Click Next | |||
[[Image:Putty_install4.jpg]] | |||
*Click Install | |||
[[Image:Putty_install5.jpg]] | |||
*Click Finish | |||
[[Image:Putty_install6.jpg]] | |||
Revision as of 09:06, 23 March 2009
Connecting to a X Server
Download the following files
Installing Xming
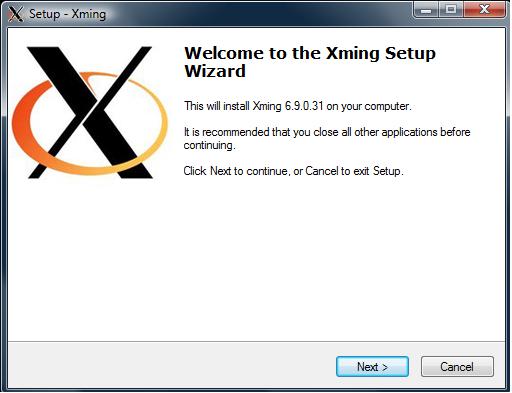
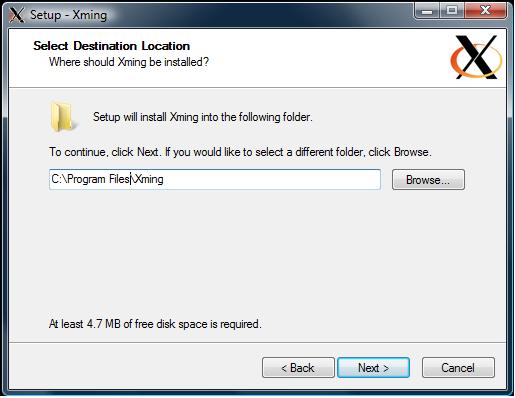
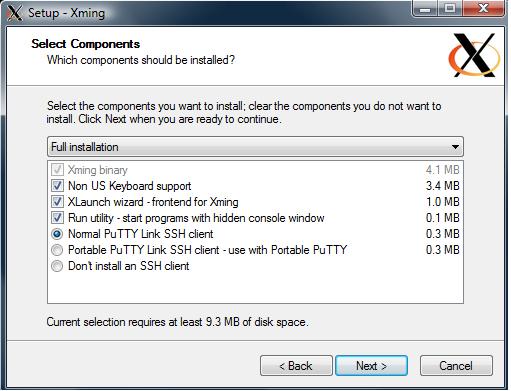
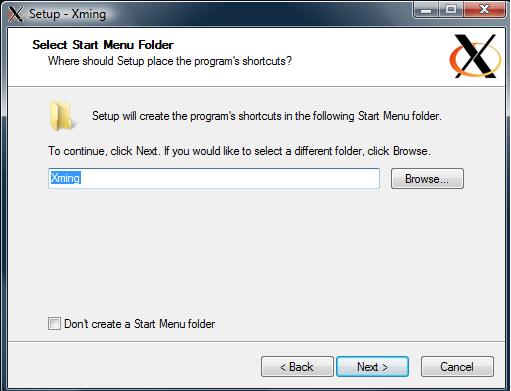
- Run "Xming-6-9-0-31-setup.exe" installer. Follow the screenshots belows
- Click Next
- Click Next
- Click Next
- Click Next
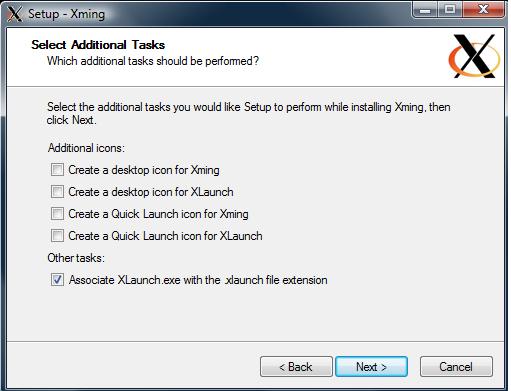
- Uncheck everything except for "Associate XLaunch.exe with the .xlaunch file extension
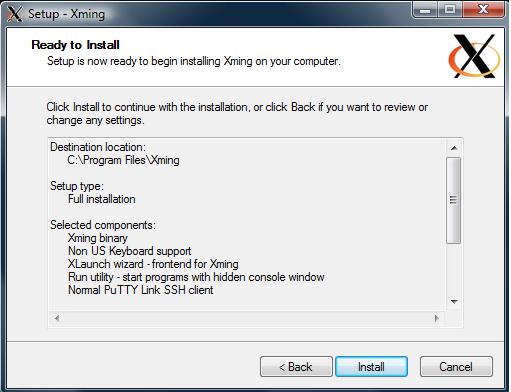
- Click Install
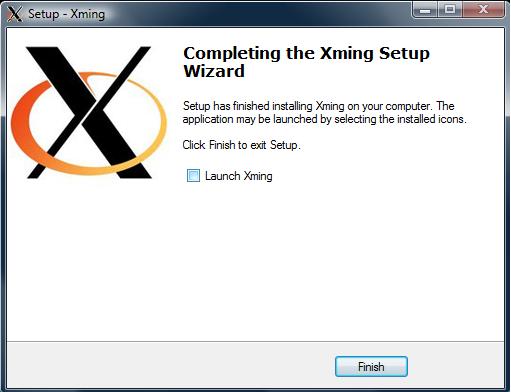
- Uncheck "Launch Xming". Click finish
Installing PuTTy
- Run "putty-0.60-installer.exe" installer. Follow the screenshots belows
- Click Next
- Click Next
- Click Next
- Click Next
- Click Install
- Click Finish
