Globus: Difference between revisions
Jump to navigation
Jump to search
No edit summary |
|||
| Line 4: | Line 4: | ||
== IGB Managed Endpoints == | == IGB Managed Endpoints == | ||
{| class="wikitable" style="width: | {| class="wikitable" style="width: 800px" border="1" cellpadding="1" cellspacing="1" | ||
|- | |- | ||
! scope="col" | Endpoint Name<br/> | ! scope="col" | Endpoint Name<br/> | ||
Revision as of 12:40, 5 July 2016
Globus is service that allows the transferring of very large files with auto-resume function and transfer verification.
IGB Managed Endpoints
| Endpoint Name |
Description |
|---|---|
| biotech#ftp.biotech.illinois.edu |
Roy J Carver Biotech Center FTP Server |
| igb#biocluster.igb.illinois.edu |
IGB Biocluster - http://biocluster.igb.illinois.edu |
| igb#compgen.igb.illinois.edu |
Compgen Cluster - http://compgen.igb.illinois.edu |
| igb#virtualmatt.igb.illinois.edu |
virtualmatt.igb.illinois.edu Server |
Create Account
Within an Organization
- Open a web browser (Firefox, Chrome, etc.)
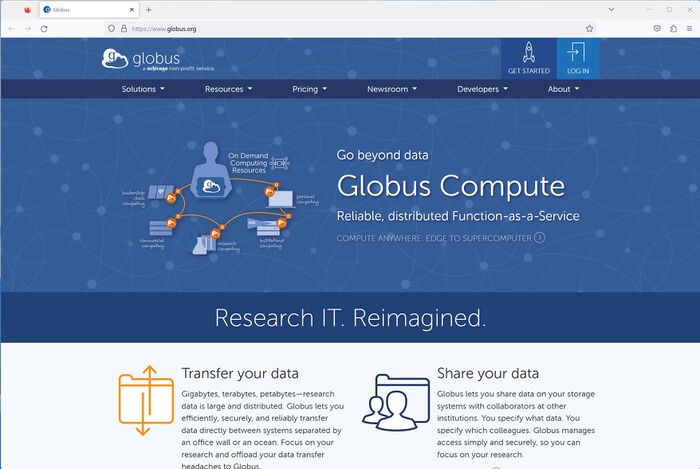
- In the address bar, please go to https://www.globus.org
- Top right corner of the website should have a link button, "Log In". Please click here.
- Select the organization you belong to. Click "Continue".
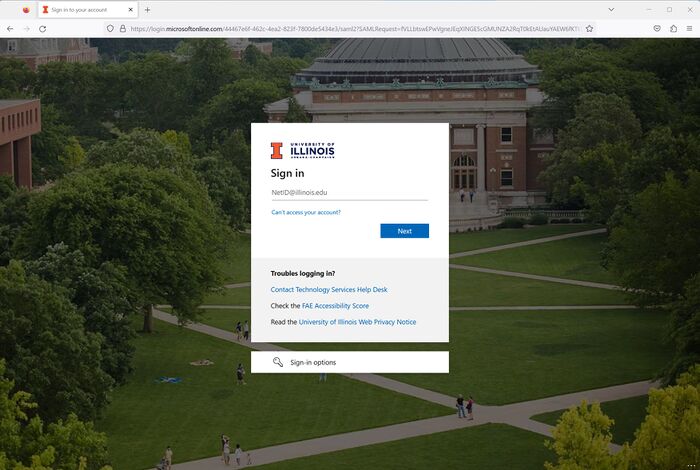
- If you selected "University of Illinois at Urbana-Champaign", then proceed to login with your netID and your Active Directory Password.
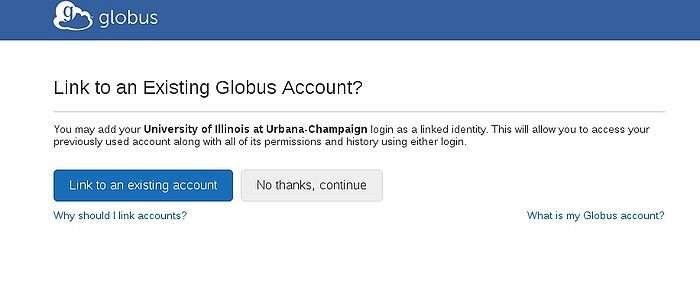
- If you previous had a Globus Account, then select "Link to an existing account". If not select "No thanks, continue".
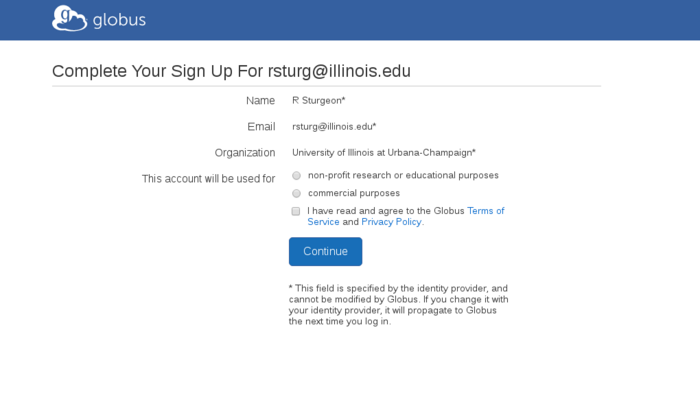
- Follow the next couple of screens to confirm your information
Generic Globus Account
- If you're organization is not listed, you can signup with a Globus ID instead.
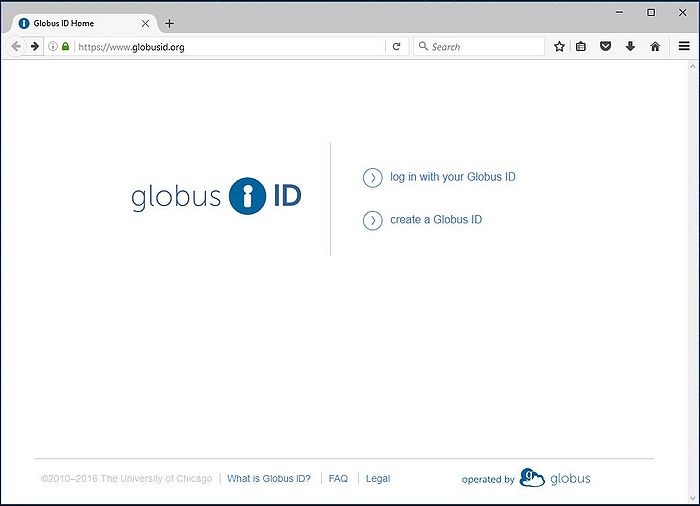
- Go to https://www.globusid.org and select "Create a Globus ID".
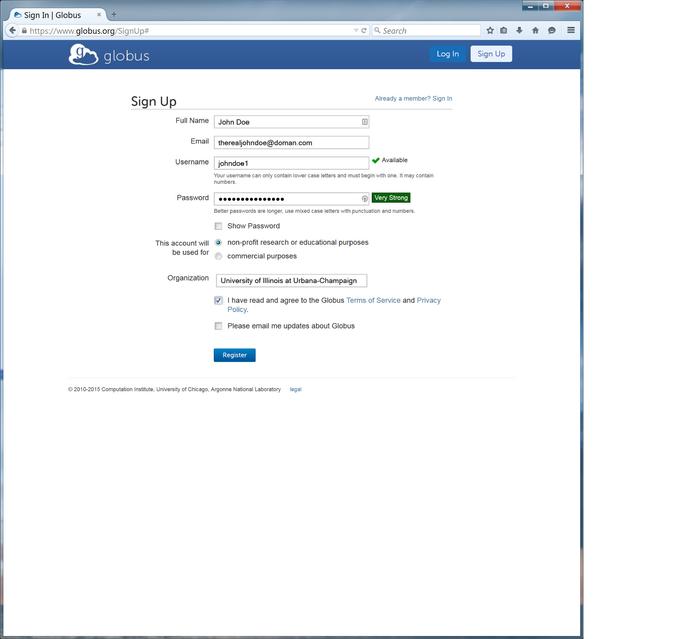
- Enter the necessary information in its respective field. This account is not affiliated with the University of Illinois or IGB, so the username will be specific for Globus only.
- Click “Create ID” and assuming your information is verified and accepted, Globus will send a verification e-mail to the e-mail you used in signing up for the account. Please check your e-mail for the Globus Verification e-mail and verify your e-mail address.
- You've successfully created your Globus Account.
Create Personal Endpoint
- Now that your account is created, you can download the end-user client application. This application will be necessary to download files from the server to your local computer.
- Please log in to the Globus Homepage, https://www.globus.org.
- Please click on the button, "Sign In". Proceed to login with your organization's login or your Globus ID.
- Near the top right of the window should consist of four link buttons; please click on the "Manage Endpoints" button.
- Please click on "+ add Globus Connect Personal".
- In the page seen below, please give your endpoint a name that you can recognize. Refer to the example below, the endpoint name will appear as the following, "johndoe1#homepc". Click "Generate Setup Key" after you've typed in the endpoint name.
- PLEASE MAKE A COPY OF THIS GENERATED KEY AS YOU'LL NEED THIS KEY TO INSTALL THE CLIENT APPLICATION. THE SETUP KEY SHOULD BE IN THE FORM OF "xxxxxxxx-xxxx-xxxx-xxxxxxxxxxxx".
- When the program has finished downloading, please run the install file. Towards the end of the installation process, the client will ask for the Generated Setup Key. Please copy and paste that key into the install window. Once the server has detected the endpoint, Globus will now be able to send files directly to your computer.
Transferring Files
- To start using Globus for file transfers, please click on “Manage Data”, then “Transfer Files”.
- For the first endpoint, please type in the endpoint name (ie igb#biocluster.igb.illinois.edu). Then type in your username and password. Please authenticate.
- In the second endpoint, please type in your Globus Connect Personal Endpoint name (i.e. johndoe1#homepc).
- Please select the file from endpoint 1 and select the destination in endpoint 2. Select the arrow that reflects the direction of transfer (left to right, or right to left).
- A transfer request will be submitted and issued a Task ID if successful.
- Please check the designated destination folder and verify that the requested download successfully downloaded.
- Congratulations, you now have Globus Access and can transfer files.
